Remove WOWSlider 5.x watermark
WOW Slider provides an easy and configurable way to create nice slide shows for a website. To see demos and download it click here. The free version has all the features and no limitations but it creates a watermark on the lower right corner of each image on the slide show. If you want to remove this watermark read how to do it bellow.
Firstly you have to create your slideshow. To do so, open WOWSlider application and drag your images in the main window. To ease our work, decide the image size now (the default is 960x360) and use a software (such as GIMP) to crop and resize the images that you are going to use and keep a copy of theme until we finish. Here we use the default size.
Saturday, June 14, 2014
By Jc
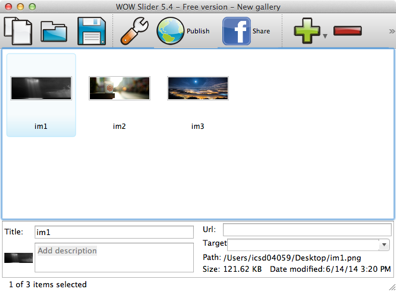
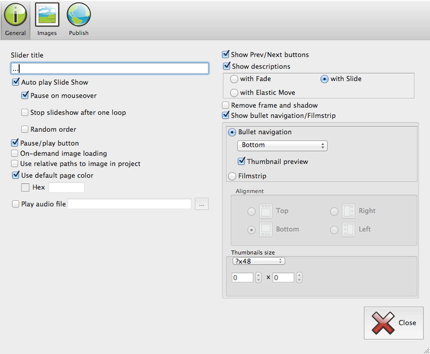
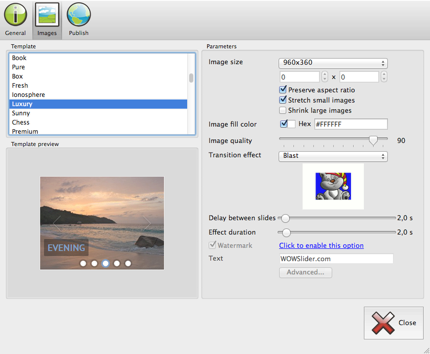
The screenshot above shows the main window of the application and three images for the slideshow. You can insert any additional information like URL if you want your image to link somewhere, a short description and the title that is going to appear during the slideshow. You can also configure the slideshow by clicking on the “properties” icon. There will be three tabs: General, Images and Publish. Change any setting you want and then go and Publish your slideshow locally. In the images tab don’t forget to select the correct image size (the same size of your images that you edited in the beginning). As you can see below the option to remove the watermark is disabled.
When it is done, go to the directory (i.e. Documents/WOW Slider/yourslideshow) where you exported the slideshow, open the “data1/images” folder and copy again the images that you edited in the beginning. The first step is done. The second step is to edit “wowslider.js” file using your editor. You will find this file under “engine1” folder. In your editor search for the word: contextmenu. You will get to a part of the code like this one:


WOW Slider creates a link and attaches it in every image of your slideshow. The above line of code does two things. Firstly, disables the right click on the link and secondly calls a jQuery function to show the element. To hide it, just replace the word “show” with the word “hide” and leave the rest the same.
There is another way to do that changing one css attribute instead of modifying javascript code. Get the cursor on the begining of the file and this time search for: zIndex:11. This will get you to this part of the code:
html(d).bind("contextmenu",function(c){return false}).show()
Changing the zIndex value to -11 or some other minus zero value (be sure to be a large value, i.e -100) will place the watermark behind the slideshow providing almost the same results. I said almost because depending on the effect you are going to use, it might be visible during the transition (try it using the cube transition effect ;) ). That’s all!
Keep in mind that in the new versions the above hints might not work
css({zIndex:11,right:"5px",bottom:"2px"})

